
We decided a few weeks before the project that we wanted to use recycled paper envelopes and bought them in brown kraft. Of course being obsessed with design I couldn't just use a plain envelope so we decided to stamp a similar flourish design on the outside of the envelope. The original plan was to emboss this flourish too but after seeing the lighter color stamp on the brown recycled paper we decided it was more natural, more us and more with our theme.
 (envelopes with the embossing - the picture makes these look great but in person they were much better with just the stamp)
 (envelopes without the embossing)
Step 4: Putting it all together
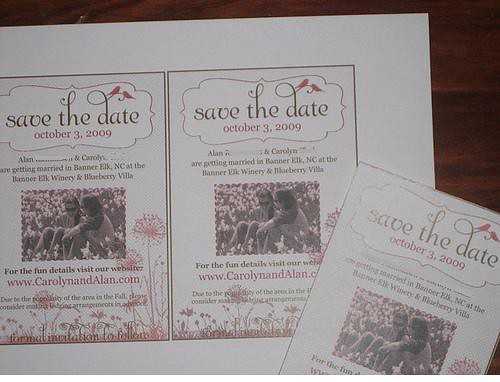
I knew we couldn't just have only the magnets so we created a 4X6 card to include that listed our website, the location and details about booking lodging early.
 I decided not to calligraphy the envelopes (my roommate and bridesman kept reminding me "it is ONLY the save-the-date") so I just printed and used a traditional heart stamp.
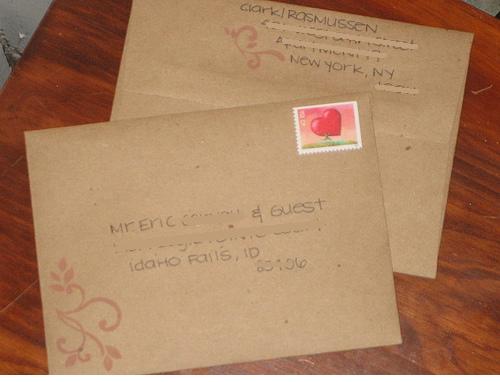 I think the complete package came out well.
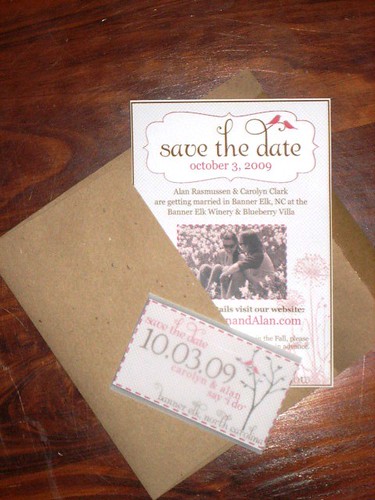 And then I mailed them!!!
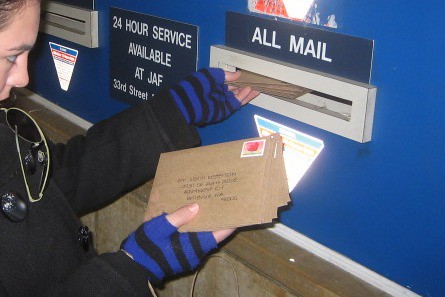 I am realizing now there is a ALOT of brown here. I have to color things up a bit. Good thing to remember for the invitations!


+small.jpg)


No comments:
Post a Comment